Use the tools in the Graphics | Animate menu to create animations in 2D and 3D. This topic summarizes the tools that are available - click on a link or picture for more information.
![]() Back to Graphics Menu Summary
Back to Graphics Menu Summary
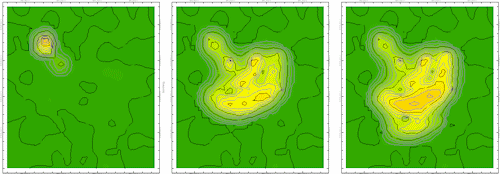
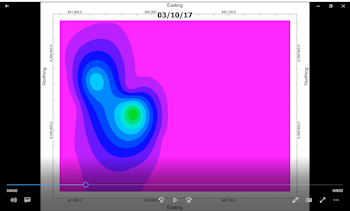
XYZ -> Contour Map Animation: Create contour map animations based on data that changes over time (e.g. groundwater potentiometric surface elevations). These animations may be saved to a variety of video formats such as AVI, GIF, KMZ, MP4, WMV. (More info)
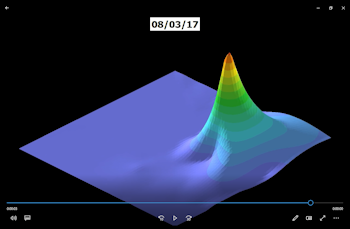
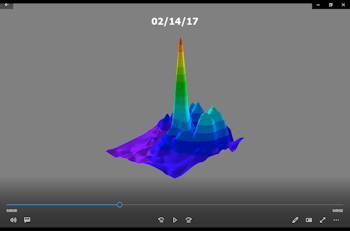
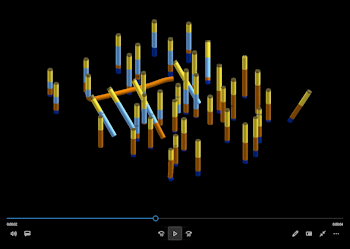
XYZ -> 3D Surface Animation: Create 3D surface animations based on data that changes over time (e.g. groundwater potentiometric surface elevations). These animations may be saved to a variety of video formats such as AVI, GIF, KMZ, MP4, WMV. (More info)
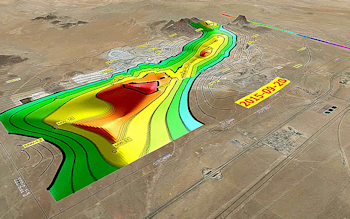
Grids -> Contour Map Animation: Generate a series of contour-map images given two "end-member" grids or a list of grids, for output to a variety of video formats. (More info)
Grids -> 3D Surface Animation: Generate a series of 3D surface images given two "end-member" grids or a list of grids, for output to a variety of video formats. (More info)
Solids -> 3D Animation: Generate a series of 3D voxel or isosurface images given two "end-member" solid models or a list of models, for output to a variety of video formats. (More info)
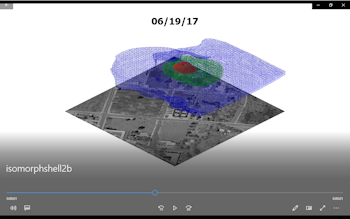
Solids -> 3D Isoshell Animation: Generate a series of 3D isosurface images, for one, two, or three different concentration levels, from two "end-member" solid models or a list of models. Output can be to a variety of video formats. (More info)
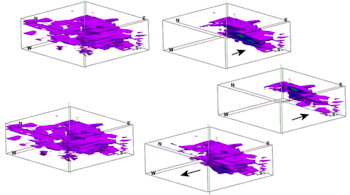
Solid Model Reveal: Read an existing RockPlot3D scene (.Rw3D file) containing a solid model (voxel or isosurface) and create a video in which model layers are removed in sequential fashion (and, optionally, replaced) along one or more axes of the model. Output can be to a variety of formats. (More info)
RockPlot3D File -> Animation: Read an existing RockPlot3D scene (.Rw3D file) and create a video where the viewpoint, angle, and zoom can be adjusted either through the menu or with more detailed listings in the datasheet. Output can be to a variety of video formats. (More info)
Images -> Animation: Read a series of existing PNG raster images from the project's Animation_Frames folder and create a video of the image sequence in numeric order. Output can be to a variety of video formats. (More info)
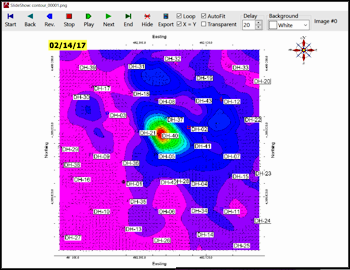
Slideshow: Display raster images in a "slide show" format, with options for generating movies. (More info)
Google Earth Flyovers
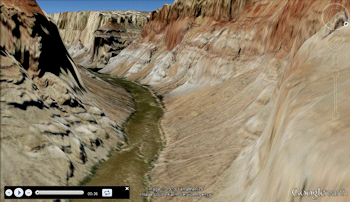
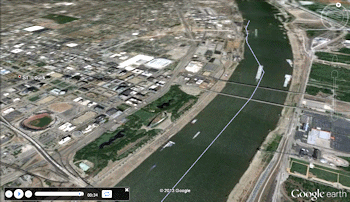
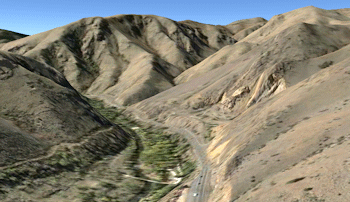
Camera Looking Forward: Create a simple flyover along a user-defined path, looking forward along the route, at a specific elevation and viewing angle. This works well to show routes, like along a river. (More info)
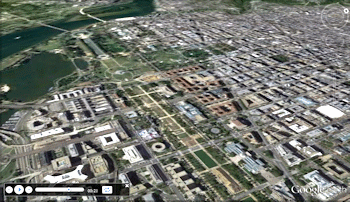
Camera Looking at Midpoint: Create a simple flyover along a user-defined circular path, looking toward the middle, at a specific elevation and viewing angle. This is a good way to circle an area in the flight. (More info)
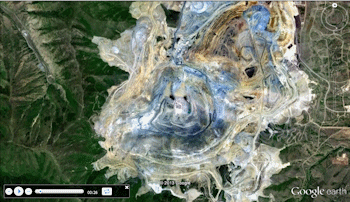
Spiral from Space: Create a simple flyover that zooms in to a specific XY location from space, does three circular passes at successively lower elevations, then zooms back out to space. (More info)
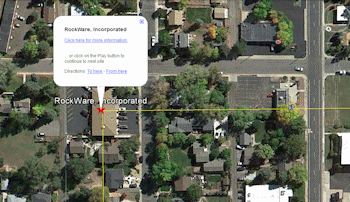
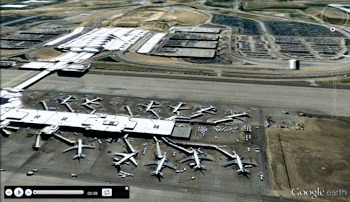
Flyover - Simple Tour: Create a simple flyover between points, with pauses at each point, and display of site symbols, names, and clickable URLs. (More info)
Command Driven: The flyover can be controlled by commands, locations, and flight times listed in the datasheet. (More info)
Circular: This is an advanced version of the simple tour from space shown above. The user can define in the datasheet the circle radii, elevations, tilt angles, and transition and rotation duration. (More info)
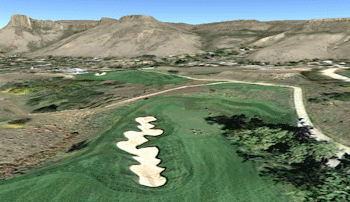
Golf Ball Flight Simulation: Create a simple flyover of arced flight segments between pairs of X, Y, elevation points (like tee-to-pin flights of golf balls along a course). (More info)
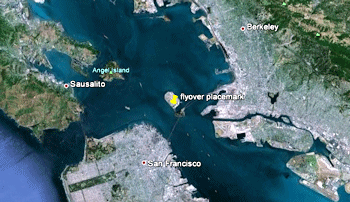
Clipboard - Circular Flyover: Copy a single Google Earth placemark, and create a circular tour around that point. Easy! (More info)
Clipboard - Forward Flyover: Copy a path in Google Earth, and create a forward-looking tour along that route. Really easy! (More info)
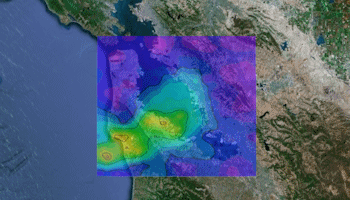
Google Earth Drape Animation: Read a list of animation files, dates, and coordinates from the datasheet and generates a time-based animation of the images, draped along the ground in Google Earth. (More info)
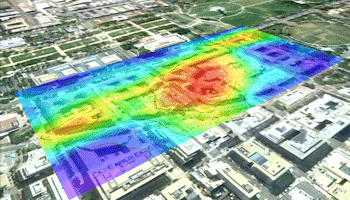
Google Earth Float Animation: Read a list of animation files, dates, coordinates, and elevatons from the datasheet and generates a time-based animation of the images, floating above the ground in Google Earth. (More info)
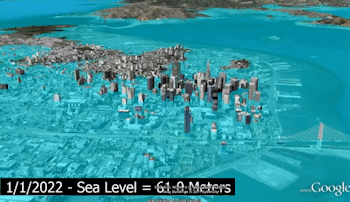
Google Earth Sea-Level: Simulate sea level rise in a time-based animation. (More info)
![]() Back to Graphics Summary
Back to Graphics Summary
![]()