RockWorks | Borehole Operations | Stratigraphy | Surface Map
Use this program to:
- Interpolate grid models for the upper and lower surfaces of the project's stratigraphic units (all units or selected ones)
- OR -
Read grid models that you've already created, and...
- Determine where these grid models intersect an existing surface (representing surface topography, an aquifer surface, etc.), creating a geological map based on downhole stratigraphic data, for display in RockPlot2D.
See also
Stratigraphy Plan Maps for simpler, horizontal slices through the stratigraphy model at a user-specified elevation.
Feature Level: RockWorks Standard and higher
Menu Options
Step-by-Step Summary
Follow these steps to create a 2-dimensional map that displays the stratigraphy zones that intersect a surface model:
- Access the RockWorks Borehole Manager program tab.
- Enter/import your data into the Borehole Manager, if you have not alredy. This program specifically reads location, orientation (if any), and stratigraphy data.
- You'll also need to have a surface model (.RwGrd file) in your project folder, which will be used to extract the stratigraphy zones at that surface. This grid model must have the same X,Y dimensions and node spacing as the stratigraphy model.
- Select the Borehole Operations | Stratigraphy | Surface Map menu option.
- Enter the program settings, described above
- Click on the Continue button to proceed.
The program will use the selected settings to create grid models of the stratigraphy layers (tops and bases) in the project. It will then build a temporary solid model from the bottom-up, by "stacking" the grid surfaces.
The program will then load the specified Surface Grid model. For each grid node, it will determine the stratigraphy type in the corresponding location in the temporary solid model, and store that stratigraphy type in the output grid model.
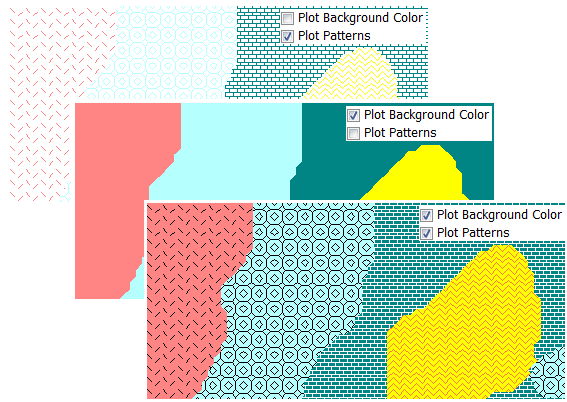
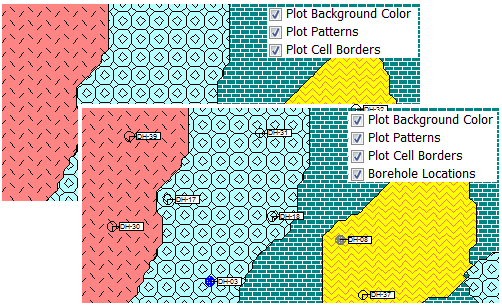
The program will then create the 2D stratigraphy (geology) map using the requested diagram settings. The completed diagram will be displayed in a RockPlot2D tab in the Options window, if requested.
- You can adjust any of the program settings in the Main Options tab and then click the Continue button again to regenerate the map.
! * If the stratigraphy surfaces look OK and you just need to adjust one of the diagram settings, you don't need to keep re-gridding over and over: Un-check Interpolate Surfaces and the map will be built with the new diagram settings from the existing grid models.
- View / save / manipulate / print / export the map in the RockPlot2D window.
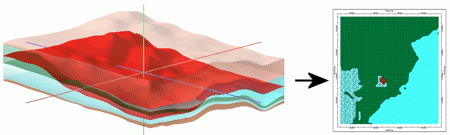
- Use RockPlot2D's File | Export | RockPlot3D tool to drape the 2D image over the input Surface Grid to transform your 2-dimensional map into a 3-dimensional surface. This should be done on 2D stratigraphy surface maps that are not annotated with border text and legends. The legend can be annotated in RockPlot3D itself.
-
 ->
-> 
 Back to Stratigraphy Menu Summary

RockWare home page