Grafix | Embellish | 3D Diagram
Use this program to read an existing RockPlot3D scene (.Rw3D file) and add any of the RockWorks standard "embellishments" to the scene. Embellishments include images, infrastructure, border annotation, legends, and more.
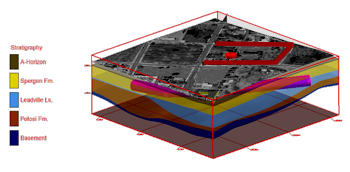
These options are also available as layers when you generate many of the 3D diagrams in RockWorks.
Menu Options
Step-by-Step Summary
- Rules & Filters
Use the buttons at the top of the window to apply spatial filters, time/date filters, or stratigraphic rules to data to be processed. (More info)
- 3D Log Design
If you decide to include logs with this diagram ("Striplogs" setting, below), click on this button at the top of the window to set up how you want the 3D logs to look.
See Visible Item Summary and Using the 3D Log Designer for details.
- Host Diagram
- RockPlot3D File to be Embellished: Click here to browse for the existing RockPlot3D file (.Rw3D) to which the additional graphics layers are to be added.
- Embellishment Layers: Use these checkboxes to select which layers are to be appended to the existing 3D scene. (Summary)
- Striplogs: Append striplogs to your 3D scene. (More info)
- Drape Image: Include an image in this 3D scene, draped over an existing grid surface. (More info)
- Float Image: Include an image in this 3D scene, floating at a specified elevation. (More info)
- Perimeter Cage Include a 3D reference cage around the diagram. (More info)
- Legends: Include one or more legends with the diagram.(More info)
- Infrastructure: Display buildings, pipes, or other infrastructure with your 3D scene. (More info)
- Faults: Include 3D fault ribbons with this scene. (More info)
- Other 3D Files: Include other, existing, RockPlot3D ".Rw3D" files in this scene. (More info)
- Output Options
- Save Output File: Check this to assign a name for the 3D scene in advance, rather than displaying it as Untitled.
- Automatic: Choose this option to have RockWorks assign the name automatically. It will use the name of the current program plus a numeric suffix, plus the ".Rw3D" file name extension.
- Manual: Choose this option to type in a name of your own for this RockPlot3D file.
- Display Output: Check this option to have the resulting scene displayed in RockPlot3D once it is created.
- Select the Grafix | Embellish | 3D Diagram menu option.
- Establish the embellishment settings as described above.
- Click the Continue button to proceed.
The program will read the existing Rw3D file and append the requested layers. The new scene will be displayed as requested.
- Adjust any of the setting as you like in the Options tab and click the Continue button again to regenerate the scene.
- View / save / manipulate / print / export the scene in the RockPlot3D window.
 Back to Embellish Menu Summary

RockWare home page