RockWorks | Graphics | Images | Images -> Map
This program will import multiple raster images into the RockPlot2D window; the file names and coordinates are read from the current datasheet.
See also: Plotting a Single Image in RockPlot2D
Menu Options
Step-by-Step Summary
- Data Columns: Use these prompts to select the names of the columns in the current datasheet where the input data are listed.
- Input File: Select the datasheet column that lists the names of the images to be displayed.
Tip: use the File | Import | Create File List program to quickly create a list of specified file names.
- Min X: Choose the datasheet column that lists the world/diagram Easting coordinates for the west/left edge of the image.
- Min Y: Choose the datasheet column listing the world/diagram Northing coordinates for the south/bottom edge of the image.
- Max X: Select the column listing the world/diagram Easting coordinates for the east/right edge of the image.
- Max Y: Selct column containing the world/diagram Northing coordinates for the north/top edge of the image.
- 2D Map Options
Use these checkboxes to append other layers to your map.
Click each tab to set up the 2D map layers (map peripherals, map border, etc.).
- Output Options
- Save Output File: Check this to assign a name for the map in advance, rather than displaying it as Untitled.
- Automatic: Choose this option to have RockWorks assign the name automatically. It will use the name of the current program plus a numeric suffix, plus the ".Rw2D" file name extension.
- Manual: Choose this option to type in a name of your own for this file.
- Display Output: Check this option to have the resulting map displayed in RockPlot2D once it is created.
- Access the RockWorks Datasheet program tab.
- Create a new datasheet and enter/import your list of image names and coordinates into the datasheet.
Or, open one of the sample files and replace that data with your own. (An example file = "\Documents\RockWorks Data\ Samples\Raster_Multiple_01.rwDat".)
- Select the Images | Images -> Map menu option
- Enter the requested menu settings, described above.
- Click the Process button to proceed.
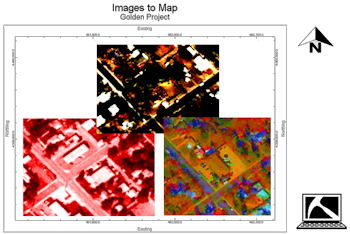
RockWorks will read the indicated raster file names and reference coordinates, and display the images in a RockPlot2D tab in the Options window.
- You can adjust any of the diagram options in the pane to the left and then click the Process button again to regenerate the image.
- View / save / manipulate / export / print the map in the RockPlot2D window.
 Back to Images Menu Summary

RockWare home page