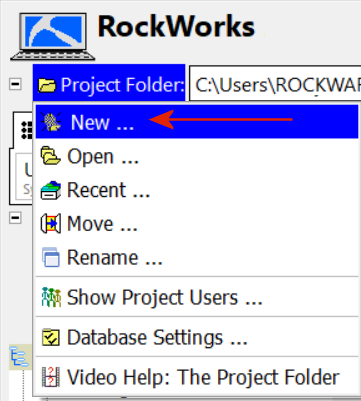
- New Project Folder: Enter a name for a new folder where the RockWorks16 project information will be updated and re-saved. Typically this is a sub-folder in the RockWorks20 Data folder.
! Do not save the RockWorks20 project in the RockWorks16 project folder. - Database Engine: Choose Customize the Database Engine.
- New Project Settings: Choose Create New Project with Data or Settings from Existing Project.
- Click Next.
- Database Engine: Choose Microsoft SQL Server.
- Server: Select the name of the server where the RockWork16 database is stored.
- Edit Data Connection: Click this button if you wish to view the connection to the server database.
- Click the Edit Data Source if you would like to assign a different name to the database. The default name will match the New Project Folder name from above.
- Click OK to close the Edit Database Connection window.
- Click Next.
- Base the New Project on the Following Project: Use this prompt to browse for the name of the RockWorks16 project folder you wish to update.
- To update all of the data in the RockWorks16 project, choose Use the Database structure, types tables, and borehole data.
- Choose All boreholes to bring in all of the borehole data (enabled and disabled holes).
- Activate the Copy Project Support Tables checkbox to bring in accessory tables such as custom color tables, cross section location tables, and similar.
- Activate the Copy Project Menu Settings checkbox to copy over all of the menu settings from the old project.
- Click Next.
- These settings will be hard-wired to match those in your RockWorks16 project.
The existing RockWorks16 database will be copied to the new name on the SQL Server, with all of the new-version table updates. The new project folder will be created, with the connection to the SQL Server, menu settings and other support files. You'll see the boreholes in that project now listed in the Name pane, and their data loaded into the data tables.
- If you all share the same project folder and if you do not use separate INI files:
- Each user can simply use the Project Folder | Open Existing Project menu option to open the new RockWorks20 project folder. This will contain all of the connection information they will need to access the new server database.
- If you all share the same project folder and if you DO use separate INI files:
- Manually make a copy of the "menus.ini" file inside the project folder's System sub-folder.
- Rename the "menus.ini" to have the user-specific prefix they use (example: mm_menus.ini).
- Edit the user's INI file for any additional login and password information that your system may require.
- Repeat this for all additional users (e.g. aa_menus.ini, mw_menus.ini, jr_menus.ini).
- Then each user can use the Project Folder | Open Exiting Project menu option to open the new RockWorks20 project folder, and can select their specific INI file as the project is being loaded.
- If you do not share the same project folder:
- Each user will use Project Folder | Create New Project, and create a new local project folder which will connect to the new database. They will specify Microsoft SQL Server as the database engine, select the name of the server, and use Edit Data Connection to specify the name of the database. (The default database name will match that of the project folder.)