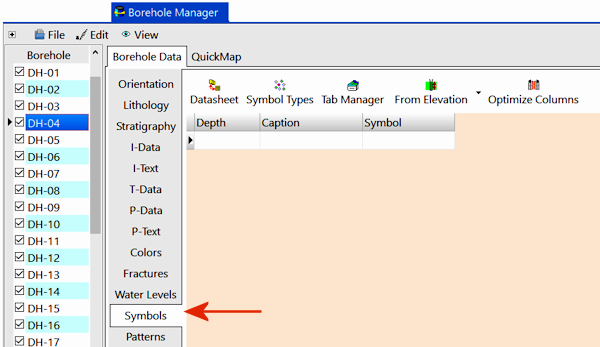
The Borehole Manager’s Symbols table is used to enter one or more depths for each borehole and the symbol to be plotted at each depth in individual logs and in log sections.
- Access the Borehole Manager program tab.
- Create a new well if necessary, or click on the existing well to be edited.
- Click on the Symbols tab for the well. If it is not visible, use the scroll buttons at the bottom of the tab listing to bring lower tabs into view.
These instructions are for hand-entering the data; please see the links at the end of this topic for other options.
- Depth: Type in the measured depth for the first symbol you wish to record.
! The depth units must be the same as the Vertical units you defined for the project (and which are displayed on the Location table). For example, if the elevation and TD for the hole are shown there in feet, then the depth listings here must be in feet as well.
! The depth values must be positive.
! The symbol will typically be positioned with its center plotted at the declared depth. This is not the case if the symbol's "origin" as it was created in the symbol editor, is not in its center. Compare the two examples below. The symbol on the left (#5 in the factory table), when displayed in the symbol editor, is centered at the design origin in the middle of the screen. This symbol will be centered on the depth you declare in the plotted log. The symbol on the right (#44), sits on the design origin. This will, accordingly, sit on the depth you declare.
-
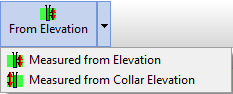
- From Elevation / From Collar Elevation: Use this button at the top of the table to define for this borehole which datum your depths were measured from. The designation will apply to all of the symbols, for all boreholes.
- Choose Measured from Elevation if the depths were measured from the ground elevation (entered as the "Z (Elevation)" field in the Collar Coordinates tab). This is the default setting.
- Choose Measured from Collar Elevation if the depths were measured from the collar elevation (entered as the "Collar Elevation" field in the Collar Coordinates tab).
-
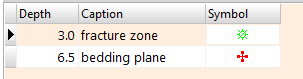
- Symbol: Double-click in this cell to pick the desired symbol from the displayed index. You can pick a color for the symbol by clicking in the Color box. Click OK to return to the data table.
- Caption: Type in any text you want to be plotted with the symbol on the log. This is not required.
- Repeat this process for additional downhole symbols. Example:
-
 Back to Data Introduction

RockWare home page