
RockPlot2D | Draw | Insert | Image
Use the Image menu command or toolbar button to insert into the current RockPlot2D image a raster image from a BMP, JPG, EMF, PCX, PNG, TGA, TIF, or WMF file. This could be an image of a company logo, an aerial photo, etc.
- Select the Draw | Insert | Image menu item, or click on the Draw | Image button at the top of the screen
 .
.
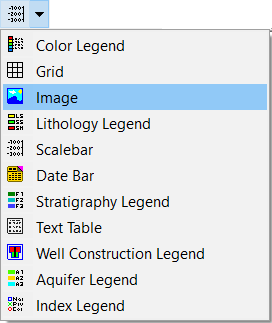
The Image button is available in the Draw | Insert drop-down menu.
The program will be in "Draw Image" mode, as noted at the bottom of the screen.
- Position the pointer in the graphic window where one corner if the image is to be located, and click and hold down the left mouse button.
- Drag the cursor diagonally, to draw a rectangular space where the image will be placed.
- When you release the mouse button, the program will display the Image Atttibutes window.
- Click the Load Image button to browse for the image to be placed in the RockPlot2D page.
- Establish any other characteristics that you wish, and click OK to place the image.
- To turn off the Insert Image mode, click the Draw Image X button at the bottom of the window, or press the Shift+Escape keys, or click the arrow button
 .
.
- To edit the image's characteristics (outline, transparency, etc.),
- Click the Edit button at the top of the window
- Double-click on the image, or right-click on it and choose Properties.
- Adjust the settings. See Image Attributes for information.
 Back to Drawing Tools

RockWare home page