
A RockWorks playlist is designed to automate program functions, such as creating a borehole location map, then a cross section, then a lithology model, while you are off having lunch. Follow these steps to add programs to a playlist.
! The number of items - both programs and special items - you can save and run in a Playlist is dependent on the feature level of RockWorks:
- Basic level: 5 Items
- Standard level: 5 Items
- Advanced level: Unlimited Items
- If necessary, open the existing playlist to which you want to add items, or create a new playlist for the item.
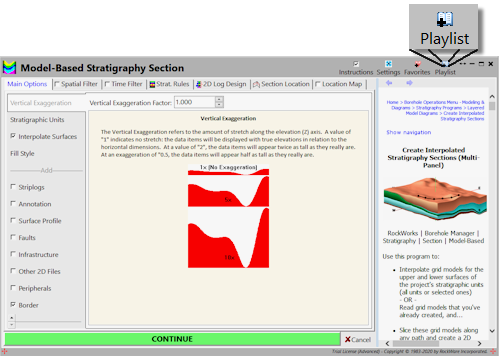
- Select the menu option you wish to add to the playlist. For example, if you want to add a stratigraphic cross section to the playlist, you would click on the Stratigraphy | Section | Model-Based menu option to open that program window.
- Establish/review the menu settings for that program. Some particular items to note:
- Be sure to click on the Output Options tab to define whether you want to save the output file, how it is to be named, and whether it is to be displayed.
- Optional: Click the Continue button to generate the output, to confirm the settings are as you want.
- At the top of the program window, click the Playlist button.
RockWorks will prompt you to assign a title for this item. The default title will come from the program you are adding, such as "Model-Based Stratigraphy Section". The title will be used to identify this item in the playlist.
- Accept, modify, or replace the suggested title as you like. The default title may work well for simple playlists; you may want to enter more specific information into the title for detailed playlists or those with many versions of the same item.
RockWorks will add the program and its settings to the current playlist. You can move the current program window out of the way to see the Playlist pane in the main RockWorks window.
- Back in the program window, click the Continue button if you want to go ahead and create the output at this time. Or click the Cancel button to return to the main RockWorks window.
 Back to Playlist Overview

RockWare home page