- First, follow the steps for opening the Bitmap Types Table.
- To delete a row in the Bitmap Types Table, click in the row, right-click, choose Rows, and then Delete. (Alternatively, you can type Ctrl+Del.)
! Warning: If there are any borehole data records that reference this name you will see a warning as such. You can choose to (1) delete all of those borehole data entries, (2) change the entries to another bitmap type, or (3) cancel the deletion operation by clicking the Cancel button.
- To insert a row in the Bitmap Types Table:
- At the end of the listing, click in the last Name cell and press the down-arrow key.
- In the middle of the listing, click in the cell above which you wish to add the new row, right-click and choose Rows, and choose Insert. The program will insert a new row into the table, with an undefined name.
- Then, click in the appropriate cell to enter the required information:
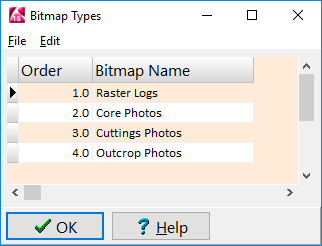
- Order: This field is simply defines the row order. It isn't used anywhere else in the program.
- Bitmap Name: This column lists the names for the image categories that you want to define. These names will link to the borehole Bitmaps data table. You can define as many categories as you like - there's no limit.
- To add a name to the end of the list, click in the last Name cell and press the down-arrow key. A new, undefined type will be listed. Type in the name for the new image category to be added. These names can be single or multiple words, up to 60 characters in total length. Or...
- To add a name to the top or middle of the list, click on the row above which you want to insert the row. Right-click and choose Rows / Insert. A new, undefined type will be listed. Type in the name for the image category to be added.
- When your editing is complete, click the OK button at the bottom of the table editor to close the window. Note that changes you make to the Bitmap Types Table are posted on the fly. You do not need to save the changes you make.
 Back to Bitmap Types Table Overview

RockWare home page