Use the Grid menu command or toolbar button to insert into the current RockPlot2D image a grid of regularly-spaced lines.
Step-by-Step Summary
Select the Draw | Insert | Grid menu item, or click on the Draw | Grid button at the top of the screen .
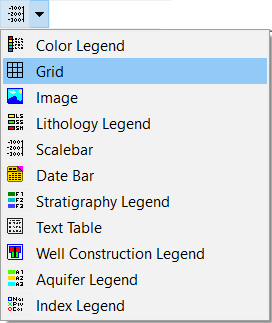
The Grid button is available in the Draw | Insert drop-down menu.
The program will be in "Draw Grid" mode, as noted at the bottom of the screen.
Position the pointer in the graphic window where one corner if the grid is to be located, and click and hold down the left mouse button.
Drag the cursor diagonally, to draw a rectangular space where the grid will be placed.
When you release the mouse button, the program will draw a grid of regularly-spaced horizontal and vertical lines between the designated points.
To turn off the Insert Grid mode, click the Draw Grid X button at the bottom of the window, press the Shift+Escape keys, or click the arrow button .
To edit the grid's characteristics (spacing, color, etc.),
Click the Edit button at the top of the window
Double-click on the grid, or right-click on it and choose Properties.
 .
.