In the P-Text table you can define an unlimited number of columns for the different components you've recorded. Before you start entering the depth points and text entries, you need to define the column headings or data "types."
- There are several methods you can use to access the P-Text Column definition window:
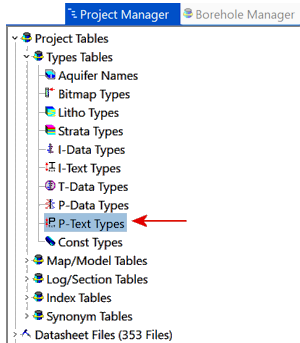
- Double-click on the P-Text Types entry in the Project Manager tab, under Project Tables | Types Tables.
-
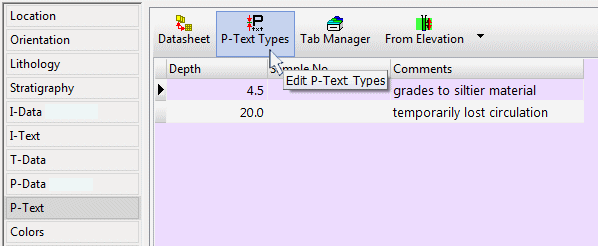
- Click on the "P-Text Types" button at the top of the P-Text table.
-
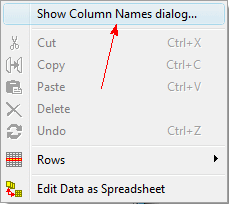
- Right-click anywhere in the P-Text table for any of the existing boreholes, and choose Show Column Names dialog from the pop-up menu.
-
- Select the View | Tab Manager menu option, click on the P-Text item in the list, and click on the Edit Fields button.
The program will display the P-Text Columns dialog box.
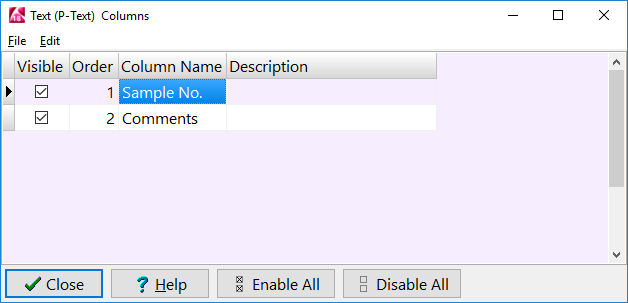
- Define the P-Text record types:
- Visible: Use these check-boxes to define whether the column will be visible in the Borehole Manager interface. Removing the check-box here will not delete the column from the database, instead it will simply remove the column from display within the program interface. See the Tips, below, for deleting a type from the database.
- Order: The order of the P-Text components is assigned automatically (using integer values) as you add rows to this listing. The Order value simply defines the order in which the components are listed in the Types table, though initially it will also define the left-to-right order in which the columns are displayed in the P-Text table in the Borehole Manager. However the Types Table order and the column order operate independently - the Types Table order is stored in the project database, and the column order is stored in the project's data dictionaries.
- You can change the Order numbers, and hence the order of the items in the Types table, by editing the Order values. This will not automatically affect the left-to-right column order in the P-Text table.
- You can click and drag the columns in the P-Text table to rearrange them within the Borehole Manger view, and that column order will be remembered. That rearrangement will NOT affect the Order number in the Types table.
- However, if you want the P-Text column order to match the Order number in this Types table you can force that to happen: right-click on the "P-Text (Point Text)" button in the Borehole Manager, choose Reset Tab Columns, and the columns will be sequenced based on the Order value here.
- Column Name: Enter the name of the text item you'll be recording, such as "Sample No." or "Comments". The Name will become the column heading. This field is limited to 31 characters, including spaces, though we recommend keeping the names as short as possible for readability.
- Description: Here you can list descriptive information about the data, for your reference.
- Repeat this for as many columns as you want in your P-Text table.
- Click the Close button to accept your entries.
- To add a new row to the end of the listing, click in the lowest row and press the down-arrow key.
- To delete a row in the P-Data Types table, and remove the column from the database, click in the row and type Ctrl+Del.
! If there is data stored under this record type in the database, you'll be warned as such. Click OK to continue with the deletion and all data will be lost or click Cancel to cancel the deletion.
 Back to Entering P-Text

RockWare home page