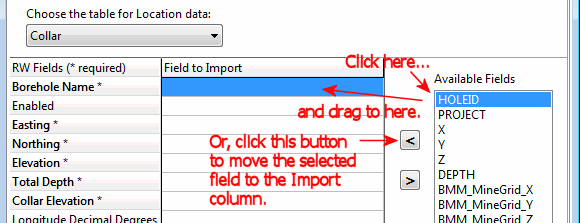
The program will load the Available Fields into the pane to the right.
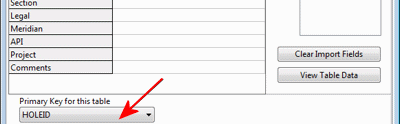
! This field is really, really important. It is the "key" field to which the other data tables will reference the borehole. If you are not sure, click the View Table Data button to view the source data table.
! If these drillhole locations have already been imported into the RockWorks database, and you're appending assay or other data at this time, you need only map the Name field. You can then skip directly to #6.
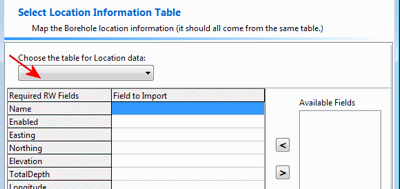
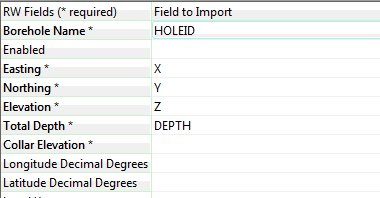
Be sure to map the import fields to the required fields: Name (the borehole ID), Easting (X), Northing (Y), Elevation (Z), and Total Depth ("DEPTH" in this example). If you don't have an Enabled field in the data source, the boreholes will be imported as disabled - you can just enable all/some of them after import in RockWorks itself.
! Not sure what's what? Click the View Table Data button to view the source data table.
- In the New Field window, enter the Field Name and select the Field Type from the list. The Display Label and Description fields will be populated automatically with the Field Name; you can add/replace information as you wish.
- Click OK to accept the new information, and this new field will be added to the bottom of the Field to Import list.
! This is really important. This import tool processes one table at a time, not all at once. If you don't click the button, the Locations will not be brought into the RockWorks database, and none of your remaining data (Steps 4 - 6) will, either.

You can use standard SQL wildcards such as percent ('%' - zero or more characters) and underscore ('_' - a single character) in the condition when you use the LIKE operator. So a filter on the Well Id to those that begin with DH-1 (ids like DH-11, DH-12, ...) would look like:
[Well_Id] LIKE 'DH-1%' When the filter is set, Blank records do not appear unless explicitly included in the filter. For example:
[State] <> 'CA' or [State] = NULL When a field name contains spaces, you must enclose the field name in brackets. For example:
[Home State] = 'CA' or [Home State] = 'MA'
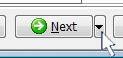
Or, click on the small drop-down arrow by the Next button to jump directly to the next import screen of interest.