![]() Estimated time: 1 minute.
Estimated time: 1 minute.
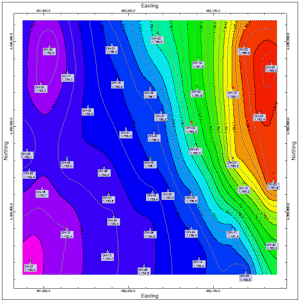
In this section, you will add border annotations to the combined map in the previous step.
! You can add these same borders to maps as they are being created, using the Borders settings in most 2D map windows (such as the Borehole Manager | Map | Borehole Locations, and Utilities | Map | EZ Map). We recommend, though, that if you intend to combine different maps, it's best to create the separate maps without borders, combine the maps in RockPlot2D, and then add the border annotation after the maps are combined. That's what we are doing in this lesson.
! It is necessary that you have completed the previous lesson before continuing.
The program will add the requested annotation to the combined map, displayed in a new RockPlot window.
![]() Back to RockPlot2D menu | Next (measure distance)
Back to RockPlot2D menu | Next (measure distance) ![]()
![]()