 Estimated time: 2 minutes.
In this lesson, you will add a BMP image to the drawing. This lesson assumes you have completed the previous lesson.
- Click on the Tutorial Project layer name (upper-left) to make it active.
- Click on the Raster (Bitmap) button
 or choose Tools | Raster (BMP, JPG, TIFF).
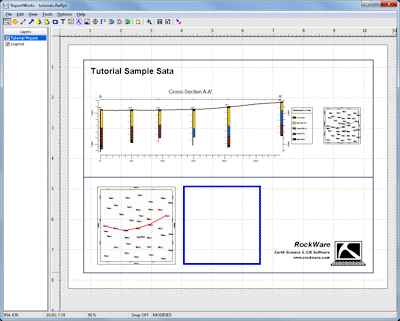
- Draw a rectangular area to the right of the map by clicking and holding the mouse cursor in the upper-left corner of the page and dragging down and to the right. Release the mouse button when you’ve got an area drawn like the blue rectangle below:
The program will display a window where you’ll select the raster image file name and set scaling.
- Raster Tab:
- Picture: Click the small open-file button
 at the upper prompt to browse for the sample file: 1955 Airphoto.png, and double-click on that file name. This file should reside in the My Documents\RockWorks17 Data\Samples folder.
 Link: Click on the Link radio button
- Best Fit: Choose this option so that ReportWorks will keep the horizontal to vertical aspect ratio at 1:1 as you size the bitmap.
- Layer: This should default to the Tutorial Project layer.
- Outline Tab: Click on this tab, displayed behind the Raster tab.
- Style: Choose None by clicking the down-arrow button.
- Click the Apply button at the bottom of the window, and you’ll now see the image displayed on the page.
- Click the Close button to close the dialog box.
- Adjust the image’s position on the layout sheet by clicking and dragging it. Remember that you can use the Layers to make different items active/inactive. Within the active layer, you can also use the right-click | Send to Back or Bring to Front options to adjust the stacking order.
- Choose File | Save to save the layout thus far.
 Inserting RockWorks Bitmaps
 Back to ReportWorks menu | Next (print)

RockWare home page