RockPlot2D | Draw | New Layer
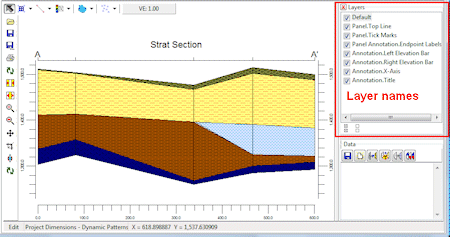
RockPlot2D allows you to organize the different items on a page into different "layers". These are groups of items that can be displayed or hidden with the click of a button. For example, a detailed map will have line contours in one layer, color-filled contours in another, border annotation in a third, etc.
As RockWorks builds maps, cross sections, and other 2D diagrams, it automatically organizes different graphic components into different layers. Opening a new, blank RockPlot2D window generates a single layer, named "Default Layer." Subsequent items that are drawn or inserted into the page are done so in that layer, until a new layer is created. Follow these steps to view layers, create a new layer, rename layers, or move items between layers.
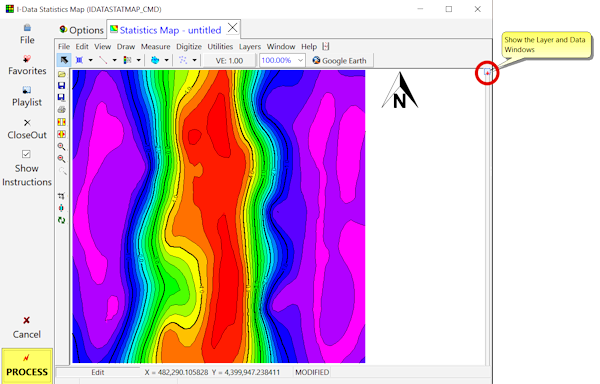
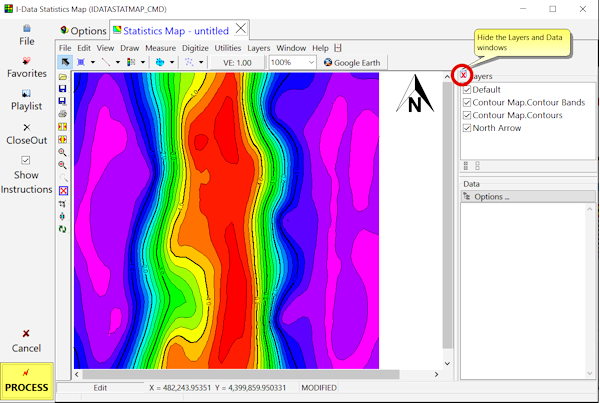
- To view the Layer Pane, if it's not visible, click on the small "+" symbol in the upper-right corner of the plot window.
- To add a layer to the current document, choose the Draw | New Layer menu item or right-click in the Layers pane and choose New Layer. The program will add a new layer entry into the layer pane, named New Layer. Be sure to highlight a particular layer prior to drawing items on your document; items are always added to the currently-highlighted layer. (See also "Moving Items," below.)
- To select a layer to be active, simply click on its name in the Layers pane. It will be displayed as highlighted. Subsequent items that you add to your document will be added to that layer.
- To rename a layer, simply right-click on the layer's name in the Layers pane, and choose Edit. Edit/type in a new name. This can help you to be more specific with layer items, such as "company legend items" rather than "New Layer2".
- To move an item to a different layer, first click on the Edit Mode arrow
 and then right-click on the item itself in the diagram, and choose Change Layer from the pop-up menu. In the displayed window, choose the layer from the drop-down list, and click OK. Note that subsequent access of the item's Attributes settings will display the new layer name.
- To move multiple items to a different layer, click on the Edit Mode arrow , and then select all of those items in the diagram itself (so that all are displayed with handles) by holding down the Shift key as you left-click on the diagram entities. Once the items are selected, right-click and choose Change Layer. In the displayed window, select from the drop-down list the layer name to which the items are to be associated. Subsequent access of the items' Attributes windows will display the new layer name.
- To copy one or more items to another layer, left click on the item(s), choose Edit / Copy (or type in Ctrl + C). Then click on the layer name to which the item(s) are to be pasted, in the Layers pane of the window, and select Edit / Paste (or type in Ctrl + V). The item(s) will be inserted into the document again, and associated with the specified layer.
- To display a layer's items, insert a check-mark in the layer's check-box.
- To hide a layer's items from the display, remove the check-mark from the layer's name.
- To apply transparency to all of the items in a layer, right-click on the layer name in the Layers pane and select Set Layer Opacity. In the dialog that is displayed, set the opacity to a value from 0 (fully transparent) to 100 (fully opaque).
- To move a layer to the background, right-click on the layer name and choose Send to Back.
- To move a layer to the foreground, right-click on the layer name and choose Bring to Front.
 Back to RockPlot2D Overview

RockWare home page