RockWorks | Borehole Manager | File | Import | Geoprobe DI (Direct Image)
This program is used to import the data from a Geoprobe DI (Direct Image) into the RockWorks Borehole database.
Menu Options
Step-by-Step Summary
- Backup: Click Yes to backup your project database before beginning the import operation. You will be prompted to type in a Name, date is automatic, description is optional, then click OK
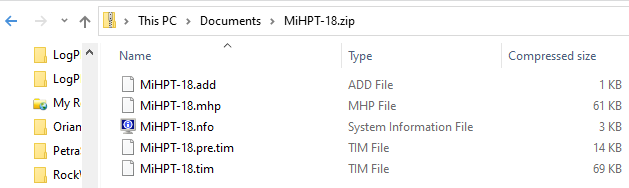
- Click button on the right to Add Files: Browse for the location of the Geoprobe DI file to be imported. RockWorks is looking for a zipped folder with the associated files inside.
-
- Back in the Import box, Click the button to Process Files and the import will be completed.
- Note: You may be prompted to Update Project Dimensions based on the new data, Click Yes or No depending on how confident you are that the data location you're appending to the boreholes are correct. You can always Scan Boreholes to update dimensions later.
- Access the RockWorks Borehole Manager program tab.
- Select the File | Import | Geoprobe DI (Direct Image) menu option.
- Back up database if desired.
- Add and process the files, described above.
- Click to Update Project Dimensions to base dimensions on new Geoprobe DI borehole data.
The Geoprobe DI information is loaded to P-Data for boreholes that match between the project and the imported file.
 Back to Importing Data

RockWare home page