 Define the I-Text Columns Define the I-Text Columns
In the Borehole Manager I-Text table you can define an unlimited number of columns for the different components you've recorded. Before you start entering the depth intervals and text entries, you need to define the column headings or data "types."
Use one of these methods to access the I-Text Column definition window:
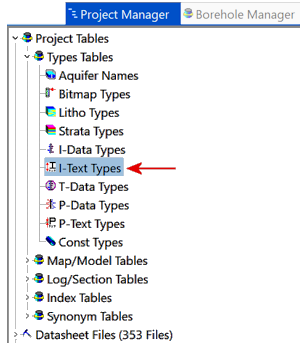
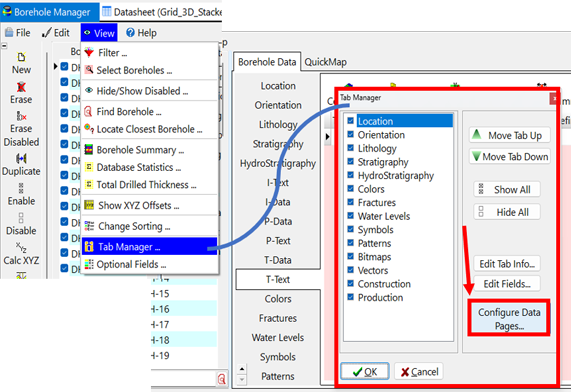
Use the Data Page Configuration Settings dialog box to set up the Pages and Types order and captions. Click to view the Configuration help document to learn more.
Then, click the Edit I-Text button on the right side to open the I-Text columns dialog box.
The program will display the I-Text Columns dialog box.
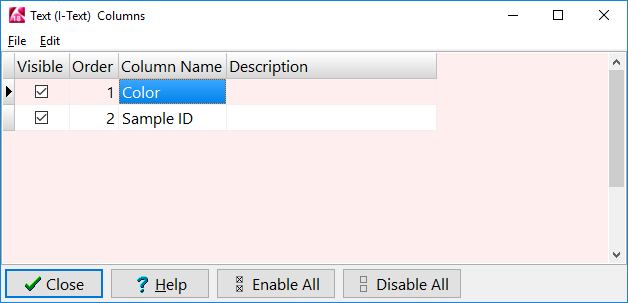
Define the I-Text record types:
Repeat this for as many columns as you want in your I-Text table.
To add a new row to the end of the listing, click in the lowest current row and press the down-arrow key.
To delete a row in the I-Text Types table, and remove the column from the database, click in the row and type Ctrl+Del.
! If there is data stored under this record type in the database, you'll be warned as such. Click OK to continue with the deletion and all data will be lost or click Cancel to cancel the deletion.
 Back to Entering I-Text
