This step is used to define the fields for the downhole vectors, destined for the Vectors table in RockWorks.
If you don't want to import vector data at this time, you can simply click the Next button along the bottom of the window to proceed to the Water Level data import screen.
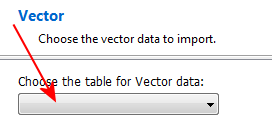
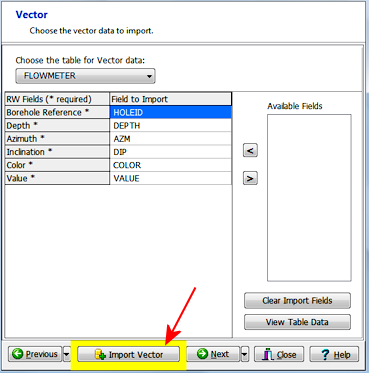
- Click the Choose the Table for Vector Data button to select the table in the input file that contains the downhole vector information.
The program will load the Available Fields into the pane to the right.
- Map the available fields, in the list to the right, to the RockWorks fields, by dragging them with your mouse.
! Not sure what's what? Click the View Table Data button to view the source data table.
- Once you have mapped the fields to your satisfaction, click the Import Vector button.
! This is really important. This import tool processes one table at a time, not all at once. If you don't click the Import Vector button, the data will not be brought into the RockWorks database.
- Click the Next button to proceed to the Water Level import.
Or, click on the small drop-down arrow by the Next button to jump directly to the next import screen of interest.
 Back to main topic | Next ( Water Levels )

RockWare home page