There are hundreds of programs in RockWorks which generate 2D graphic output in the form of maps, cross-sections, generic diagrams, and more. Use these settings to define whether the output graphic file is to be displayed after it is created and how/whether it is to be saved in a file in the project folder. Previous versions of RockWorks always displayed graphic output in an "untitled" window. The purpose of offering these choices now is related to the RockWorks Playlist.
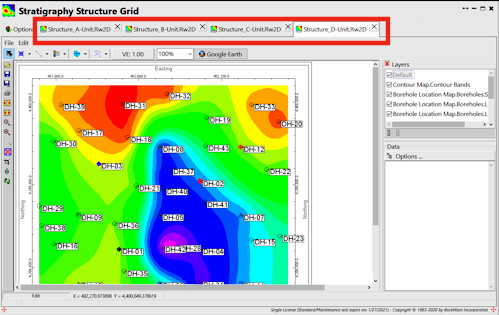
In RockWorks, 2D graphics are stored in a file with an ".Rw2D" file name extension. They are displayed in the RockPlot2D graphic window. Unlike previous versions of RockWorks, you can now display multiple output tabs in an options window.
- Output Options
Click this tab to adjust the save/display settings for the output map, section, or diagram.
 Display: Check this option to have the resulting map displayed in RockPlot2D once it is created. This is the default setting, and is helpful if you are working interactively in the program - you'll see the results of your efforts right there in a program tab.
-
 Display: Uncheck this option if you don't want the resulting graphic displayed in RockPlot2D once it is created. This can be helpful if you are generating a lot of graphics in a Playlist and don't need for them all to be displayed at that time.
- Save: Leave this setting unchecked if you want your graphic output to be displayed in an "Untitled" program tab. A file containing the map or diagram will not be saved in the project folder until you manually choose to save it (RockPlot2D File | Save option). This is the default setting.
Benefit: You can manually decide which graphics you want to keep as you view them - pitch the ones you don't want to keep. You won't have as many copies of the diagram in your project folder.
Drawback: You need to save each graphic manually using the RockPlot2D Save button or File | Save menu option.
-
Save: Check this option to assign a name for the graphic as it is being generated. This is helpful if you are including the program in a playlist - the output will have a name rather than being displayed as "Untitled". You can have the program name the file automatically or assign a specific name, described below.
- Automatic: If you have requested that the map/diagram be saved, choose this option to have RockWorks assign the name automatically. It will use the name of the current program plus a numeric suffix, plus the ".Rw2D" file name extension. For example, if you are creating a stereonet diagram and there are no others in the project folder, the automatic name would be "STEREONET_1.Rw2D". The next stereonet would be named "STEREONET_2.Rw2D", and so on.
Benefit: All graphics are saved in your project folder - you won't lose any.
Drawback: All graphics are saved in your project folder - it's easy to get a lot of them if you are experimenting with program settings.
- Manual: Choose this option to type in a name of your own for this file. This is highly recommended if you are including this program in a RockWorks Playlist.
Benefit: Specific graphics are assigned specific names, especially helpful for a Playlist.
Drawback: You need to be sure to assign the specific name for each run of the program, otherwise you'll overwrite the last version of that file.
! NOTE: Save Output File | Manual will not warn you that a file with that name already exists. Be careful.
- Export: Check this option to have the resulting map or diagram exported to another graphic format upon completion. This can be really handy by eliminating the extra steps of manually exporting the diagrams within RockPlot2D. This new capability is especially useful when automating workflows via Playlist scripting.
! In an effort to simplify these exports, the output resolution is configured to create bitmaps in which the horizontal dimension is at least 2,400 pixels. If you need more control over file size or resolution, we recommend generating the graphic and displaying it in RockPlot2D, then use that File | Export program which offers more settings.
- PDF: Check this to export to PDF.
- PDF File Name: Click to the right to enter a name for the PDF file to be generated.
- Display in Default Viewer: Check this to display the PDF on completion, using the default PDF viewer on your computer.
- PNG: Check this to export to a PNG-format raster file.
- PNG File Name: Click to the right to enter a name for the PNG file to be generated.
- Display in Default Viewer: Check this to display the PNG on completion, in the default viewer on your computer.
-
! For hopefully obvious reasons, turning off both Save Output File and Display Output options is not recommended.

RockWare home page